Original post from Circulon UK
Did you know that 7th July is World Chocolate Day? While we don’t really need an excuse to eat chocolate, the thought of there being a whole day dedicated to one of our favourite kitchen ingredients fills us with joy - as well as some serious cocoa cravings.
While there’s a lot to be said for just sitting in your pyjamas, watching Netflix and eating a gigantic bar of Dairy Milk, World Chocolate Day provides you with a perfect reason to master that tricky kitchen technique, tempering chocolate.
Tempering chocolate is a technique which involves slowly heating and then cooling the chocolate so that the fats crystallise uniformly and the chocolate ‘snaps’ when it’s broken. It’s what provides truffles and dipped chocolates with that gorgeous, glossy sheen. Well tempered chocolate can elevate your sweet treats from meh to marvellous in minutes, whereas poorly tempered chocolate looks dull and has a white bloom to it from where the cocoa fat has risen to the surface
While it may look easy, there’s a definite skill to it.. Even trained pastry chefs can find it tricky to get right, so don’t be too hard on yourself if it takes a few goes to achieve sweet treat perfection.
THE SEEDING METHOD
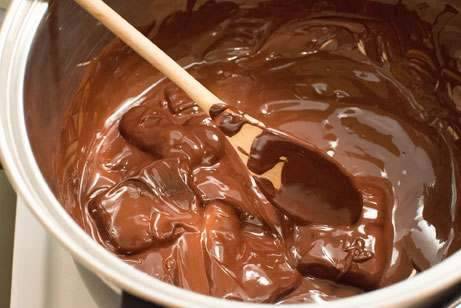
Our preferred method for tempering chocolate is the ‘seeding method.’ Here, you add tempered chocolate to melted, untempered chocolate. The tempered chocolate will introduce (or seed) the proper crystalline structure to the overall batch and bring everything into align. To do this, you’ll need a bain-marie (you can easily make your own by placing a bowl over a saucepan full of boiling water), a thermometer and some high quality chocolate with a good cocoa content (yes, this is an excuse for you to buy that fancy looking chocolate next time you’re at the supermarket.) Break the chocolate up into small chunks and add three-quarters to a bowl. Set the bowl over the bain-marie, ensuring the bottom does not come into direct contact with the water. Let the chocolate gradually melt until the thermometer reaches 55°C, while stirring slowly and continuously. Remove from the saucepan from the heat and add the remaining chocolate pieces. Slowly stir the chocolate until it melts and reaches 27–28°C. Place the bowl of chocolate back over the pan of water and set over a low heat. Reheat to 31–32°C, making sure the chocolate does not exceed 32°C. Dark chocolate should reach 31°C-32°C; milk chocolate should reach 29°C-30°C and white chocolate should reach 28°C-29°C. If the chocolate has reached the right temperature and there are still pieces of unmelted chocolate, remove them before increasing the temperature. If you leave them, the chocolate will thicken very quickly and become sticky because of over-crystallisation.
THE CRUMB METHOD
If this feels too tricky, there is another way. Food blogger Izy Hossack introduced us to ‘the crumb method.’ This involves using a food processor to blitz your chocolate into crumbs, before pouring the mixture into a bowl and adding hot water. Too good to be true? Perhaps, but it’s certainly one to try if you’re looking for a quick and easy method of tempering chocolate! Now you know how to temper chocolate, we think you deserve to make yourself some truffles. We like ours with salted caramel, but you can make them with Irish Cream, raspberries, hazelnuts…the only limit is your imagination!
We’d love to see the delicious creations you make using tempered chocolate. Let us know which of the methods mentioned above you prefer, and don’t forget to tag @Circulon.Australia in your recipes. Happy tempering!